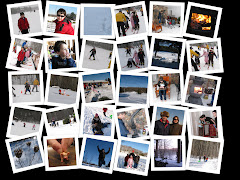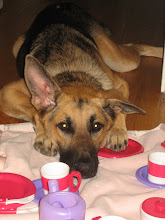
I found this great craft on the creative home arts website. I plan to try it this weekend with some of the kids photos. It might look cool in the dog book I am making about Ashlands life. If I like the look, I might incorporate it into Jimmy's book. (now that I am starting the almost 10 year old's book) If I have it completed by his 10th birthday party, it will be a great accomplishment.
Photo Cut UpGive your photos even more flair with this simple but dramatic technique.by Julie Stephani
Online Rating: (7/10)
You will need• Photo• 2 coordinating printed papers• Cardstock: black, white• Silver metal "message" charm• 4 silver brads• Deckle-edge decorative scissors• 1/8" circle paper punch• Dimensional dots• Paper adhesive, ruler, paper trimmer or scissors
STEP 1: Cut & mat photo. Slice photo vertically into four or five slanted-edge pieces. Note: Position main subject in center of one slice. Glue photo pieces on white cardstock, leaving a 1/8" space between inner edges and with outside edges even. Trim cardstock around photo with deckle-edge scissors, leaving a 1/8" border. Glue matted photo to black cardstock. Trim cardstock around photo with paper trimmer, leaving a 1/8" border. Punch a hole in each corner of photo through all thicknesses. Insert a silver brad in each hole.
STEP 2: Add background. Glue matted photo to printed paper, leaving a 1/2" border on three sides and a 2" border on the right side. Glue printed paper to black cardstock. Trim cardstock around photo with trimmer, leaving a 1/8" border.
STEP 3: Attach charm. Glue metal charm on second printed paper. Trim paper around photo with trimmer, leaving a 1/4" border. Glue matted charm to black cardstock. Trim cardstock around photo with trimmer, leaving a 1/8" border. Apply dimensional dots to back of matted charm. Press in place on bottom right of photo as shown.


No comments:
Post a Comment